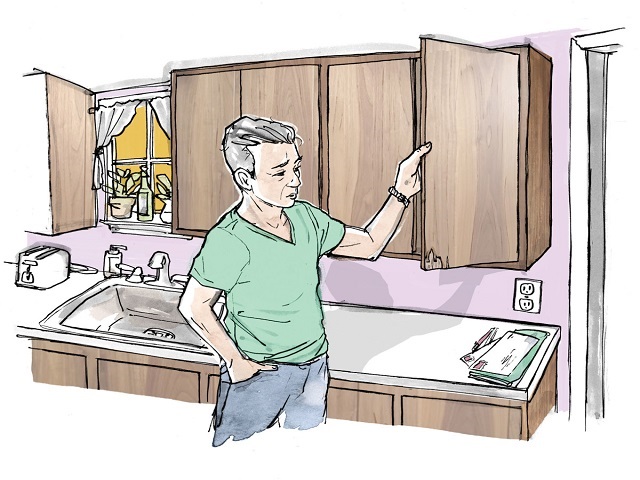
Plastic cabinets give a beautiful look to the kitchen; they make the kitchen tasks easier. If you have cabinets in your kitchen, you should maintain them properly, after years of use they may become brittle, you may see cracks there. However, you can repair the cracks. Even if you are a beginner, no problem – you can repair the cabinets; just follow the steps described below.
Tools and Materials
• Paint
• Brush
• Sandpaper
• Primer
• Plastic filler
• Putty knife
Step 1 – Observe the cracks
To repair the cracks you have to locate them. Inspect the cabinets thoroughly and find out all the cracks. There are plastic filler in the market and they are available in different colors, you should select the color that will be matched with your plastic cabinets. The amount of filler should be enough to fill the cracks. For better result, if the cracks are big, you should go for welding the cracks.
Step 2 – Clean the cabinet
Now you should clean the cabinets, try to clean the cracks also. You have to remove all the dirt and waste from the cabinet and the cracks to get better result. You can do it by clean pieces of cloth or you can use a brush.
Step 3 – Apply the filler
Now you can apply the filler into the cracks after removing all the dust and dirt from the cracks. You may have to remove plastic pieces from some cracks, but you should not do that unnecessarily. It may make the cabinets more brittle, and more filler will be needed to fill the cracks. Squeeze the plastic filler into the cracks. Use the putty knife to fill the cracks properly; then shape it. Remove the extra filler. Let it dry.
Step 4 – Sand the filled area
Now take a fine quality sandpaper to sand the filled area. You should do it after the filled area become dry. Do it gently and don’t forget to make the area smooth for a better look. After sanding the area, use your fingers to observe the smoothness of the area. When you will be satisfied with the smoothness, use a clean piece of cloth to remove all the dust from the cabinet. Sand the whole cabinet if you want to paint the whole.
Step 5 – Apply the primer
You can either paint the filled area or you can paint the whole cabinet. It will be better to paint the whole cabinet, if the cabinet is not painted for the last several years. If you want to paint the whole cabinet, do not forget to clean the whole cabinet thoroughly. Now apply the plastic primer. You should use the plastic adhesion primer for the best result. Then let the primer dry.
Step 6 – Paint the cabinet
After doing all the above tasks, you can paint the cabinet. After allowing sufficient time to dry the primer, you can start to paint. Apply the first coat of paint and let it dry, then apply the next coat. If you want, you can apply a third coat to get better look.


Hata!
Yorumunuz Çok Kısa, Yorum yapabilmek için en az En az 10 karakter gerekli